Saturday, 26 September 2015

Meadow Sweet Card


Hello ...

Today I would like to share a card made using the Meadow Sweet Collection.  The patterns in this collection work really well with this design.  Here I have used the 6 x 6" Patterned Papers as the smaller print doesn't over power the design of the card.

Materials: 
6 x 6" Card Blank
Framelits Dies - Square 
Corner Punch 

Instructions:
1.  Layer the wooden effect paper onto the card blank.
2.  Die cut 4 larger squares from various papers and 4 smaller squares from the same papers.
3.  Punch opposite corners to round them.  Layer the large and small squares together.
4.  Place a corner of each square into the centre of the card and repeat with all our squares.
5.  Add an embellishment to the centre.


This is a perfect card for using up those left over papers in your pad.  If required you could add another layer.  This would also work well with all of our collections.

Until next week ...

Katie 


Monday, 21 September 2015

A Candy Layout with flowers

Today I am sharing a 6 x 8" layout, my current favourite size.


I used the Candy 6 x 6" paper pad to trim the strips of paper at the bottom and then the plain paper included.


Using my Sizzix Big Shot I die cut the Be happy - from the Sizzix Thinlits Die Set 3pk Happiness Phrases - directly on the white 6 x 8 card. One of the reason i love this size of pages is because at the narrow side is only 6" so I can die cut in using just the standard Big Shot.
Then I glued from the back the plain paper.


The heart border is from another die set  660472 Sizzix Thinlits Die Set 2PK - Decorative Trim.


I hope you like it!

Paula

Saturday, 12 September 2015

The Handmade Fair - Make & Take


Hello ...

So with the Handmade Fair only days away there has been a lot of preparation going on for Craft Asylum.

This year I will be holding the makes & takes giving people an opportunity to come see and feel all of the gorgeous Craft Asylum products.

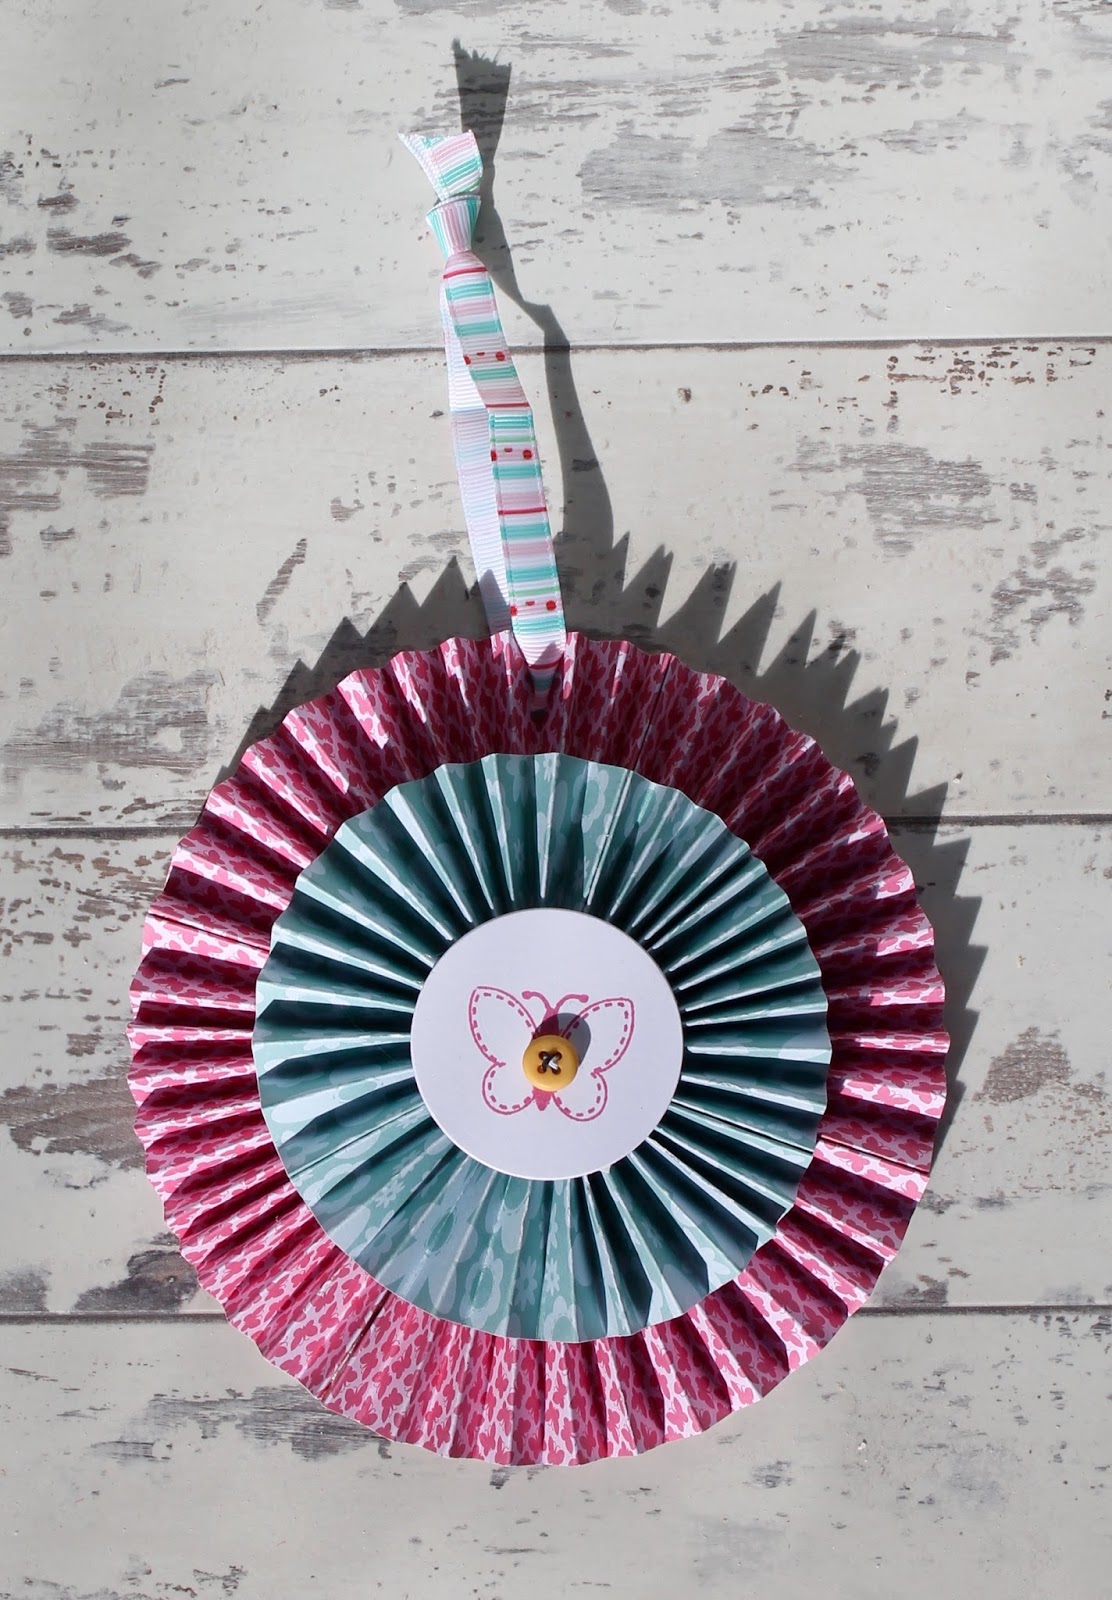
For those of you lucky enough to be attending we would love to see you.  Come and stop by, say hello and participate in our wonderful make and take where you can make this cute pinwheel made from the Home Sweet Home Collection.


The project has been designed so that you can take away the skills you learn and use them in home decor, party decoration and all your papercrafting  projects.


It really would be wonderful to see you there and if you can't make it I will be back next week with some photographs to share.


Katie


Monday, 7 September 2015

An autumm card


Today I am sharing this card which I think is good for the end of summer and beginning of autumn.

I used the following Craft Asylum products: 


 First I die cut several times out of different greens the Do What You Love die. I trimmed the elements to create individual branches.


I layered them and glue them to the card. Then I die cut the flower and layer it on the card.
I then stamped the message using black ink.


Finally I sprayed yellow and green plain colour inks.


I hope you like it!


Saturday, 29 August 2015

Papercraft Embroidery Hoop


Hello.
Today I am sharing something a little different with you.  As with many crafting prodcucts they can be mixed and matched and so this project I have used a standard embroidery hoop to create a wall hanging.  The natural look of the hessian is a perfect combination with the Into The Woods Collection.

Materials:
Embroidery Hoop
Hessian
Mount Board
Felt
Distress Ink 

Instructions:
1.  Take the embroidery hoop and open it up.  Place the hessian material inside and pull tight.


2.  Die cut the Sizzix Bigz Die - Wonderland Bird from mount board and again from felt.  Adhere the layers together.


3. Trim 2 layers of patterned papers from the 6 x 6" Into The woods Paper Pad.  Cut one into a banner.  Attach to the hessian.  Adhere a 1" strip along the base of the banner and add the ribbon.


3.  Die cut the Sizzix Thinlits Die Set Woodland Flower and Woodland leaves.  Ink the edges an adhere.


4.  Finally adhere the bird to the hessian.


A great project to give as a gift or add a little colour to your home decor.

Have a great weekend.

Katie 


Monday, 24 August 2015

How to make your die cut letters glued in perfect position

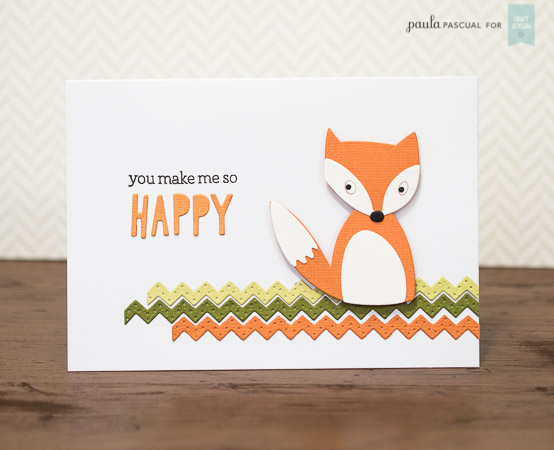
Today I am sharing a card featuring the super cute Fox!


I used:


And I am going to show you how to make sure that the letters stay in the right place while gluing them.


First stamp on the card. I decided to change the sentiment for this step by step to showcase that you how versatile this die is.


Then use your Big Shot to die cit the sentiment using the Happiness Phrases Happy.


Remove the excess card, and apply the tiniest amount of glue posible, a good way to do so is by using a cocktail stick to apply tiny dots of glue.


Place the die in place and secure it if you would like with low tack tape.


Then use a clean cocktail stick to push through gently each of the letters.


Then, lift the die gently just in case the glue hasn't bonded.


Perfectly spaced!


Just make sure that there is no glue left on the die! If there is, just use a damp cloth to remove it.


I hope you like this tip and the card!


Saturday, 22 August 2015

You Make Me Happy Card


Hello ...

Today I would like to share a bright and cheerful card with you.

I have used the Candy collection of papers to create a clean and modern look.  The plain papers in the Candy 6 x 6" Paper Pad are perfect for making up die cuts as it really helps them stand out from the white background.

The Sizzix Thinlits Happy Birds Die has been cut from several colours and pieced together to create a statement piece in the corner of the card.


This has been adhered to a white panel.  To set off the image a layer of pink paper from the Candy 12 x12" Paper Pad has been adhered to the edge and a strip of twine added.  Adhesive stones have been adhered to the bird to add some detail.

The white layer has then been added to a 7 x 7" card blank using 3D foam pads to create dimension.

This can be used for any occasion.  In fact I am going to use it as an anniversary card for my husband!

Have a lovely weekend.

Katie